
Enhanced eCommerce and Confirmation Page Pixels
The standard “out of the box” Google Analytics implementation covers all aspects of incoming
site traffic and site browsing behavior. In order to track eCommerce
transactions a special Google Analytics eCommerce tracking pixel needs
to be implemented. This pixel needs to be implemented only on the Order
Confirmation Page (the page immediately after a successful order was
placed on your site). This is the page on which the customer sees the
Order ID or Transaction ID tracking number and is typically known as a
“Thank You” page.
Order Specific Data
While
each page (such as the homepage or landing pages, etc.) of your site
follows the same rules and format for every visitor session, the
confirmation page is customer specific since it tracks a unique order.
Hence, the same tracking code that has been deployed site-wide
utilizing the Google Tag Manager (GTM) tool implementation needs to be
specific for only the confirmation page to capture order specific data.
This data cannot be simply stripped off of the Thank You page. Your IT
or Developer will need to pass this data along to Google, following a
predefined format. This format is referred to as a “Data Layer;” the
order specific information such as Order ID or product SKU are known as
“Values” and the coding standard is known as “Macros.” GTM is programmed
to instinctively translate the Values from the Data Layer into your
Google Analytics Reporting Console.
The Code for your IT or Developer
Unfortunately,
you can not use GTM to deploy the confirmation page code. The Data
Layer code is additional code that your IT team or site Developer needs
to specially program into your Confirmation or Thank You page. It is
important to remember that the GTM code that is one EVERY page of your
site should not be changed or modified! The only thing different with
the confirmation page is the addition of the Data Layer code. This new
code, Data Layer, has to be coded ahead of the GTM code.
NOTE:
It is very important that the confirmation page specific Data Layer
code has to be embedded or coded on the Thank You page before the Google
Tag Manager code.
Here is the Code
<script>
dataLayer = [{
‘transactionId’: ‘1234’,
‘transactionAffiliation’: ‘Acme Clothing’,
‘transactionTotal’: 38.26,
‘transactionTax’: 1.29,
‘transactionShipping’: 5,
‘transactionProducts’: [{
‘sku’: ‘DD44’,
‘name’: ‘T-Shirt’,
‘category’: ‘Apparel’,
‘price’: 11.99,
‘quantity’: 1
},{
‘sku’: ‘AA1243544’,
‘name’: ‘Socks’,
‘category’: ‘Apparel’,
‘price’: 9.99,
‘quantity’: 2
}]
}];
</script>
What Does the Code Mean?
Only the part of the code that is bolded orange needs
to be dynamic (values derived from each specific completed Order or
Transaction). The part of the code that is not bolded orange has to
remain static (maintain the predefined GTM format - otherwise GTM will
not be able to interpret it).
Code Nomenclature for your IT or Developer:
Transaction
ID and Affiliation need to be in single quotes, because these two
values, represent a string (don’t worry your IT or Developer will know
what a string is, just make sure they are in single quotes (‘’),
developers will sometimes use double quotes (“”) and tell you they are
the same thing, but trust us, they should just follow Google
guidelines). The ID is the Order Number (these sometimes have letters
and numbers mixed together). The Affiliation is your store, this is here
because some eComm businesses have multiple online stores or
micro-sites.
‘transactionId’: ‘1234’,
‘transactionAffiliation’: ‘Acme Clothing’,
The
Revenue or Currency part of the Sale is the: Total, Tax and Shipping.
These must not have quotes and they should have a decimal place only if
there are cents and dollars involved. If there are no pennies in the
currency do not use a decimal point. Note: for International
transactions do not use a comma even though in your culture a comma is
used to differentiate between a whole currency and fractions of the
currency (only use a period or decimal point).
‘transactionTotal’: 38.26,
‘transactionTax’: 1.29,
‘transactionShipping’: 5,
Be
sure that only the amount of currency you collect and bill the customer
is passed through. In the situation where there was a discount or free
shipping promo, make sure the Google variable reflects the actual amount
after the discount, as Google doesn’t have a “discount” field. For
example, if shipping was free due to a discount, the shipping value
should be zero. Please verify and thoroughly QA, otherwise you might
wind up with inflated revenue, due to reporting demand sales and not
reporting true total revenue. The code is specifically formatted for the
order total, tax and shipping - that means each one needs to be
specifically broken out. Basically, do not included shipping and tax in
the total as the total should only be the order total, otherwise again
you could wind up with inflated revenue figures. The name of the eComm analytics game is data integrity.
The
last component is for the individual products that made up the order.
This piece of code can also be tricky or a sticking point for IT or
Developers. This particular order is made up of two separate items with a
total of 3 units sold. Each and every product or SKU that is part of
the order needs to be listed separately, along with the product specific
component of the order.
Final
sticking point, if there was an order discount, please make sure that
is also reflected in the Price of the product. Because the total of the
product prices need to add up the same exact order total as above.
Notice
how the total for the second item Sock is 9.99 while the quantity is 2.
Google Analytics will total out the order by multiplying out the price
and quantity. As with the Values from the Macros above, make sure to use
single quotes for the SKU, Product Name and Product Category. Do not
use an quotes for the Price and Quantity (as price and quantity are not
strings).
Enhanced eCommerce and Confirmation Page Pixels(continued)
Notice the square brackets [ ] these enclose ALL of the products that were part of the complete order. Notice the curly brackets { } these enclose each separate product. An order could have several of curly brackets but only one square bracket.
‘transactionProducts’: [{
‘sku’: ‘DD44’,
‘name’: ‘T-Shirt’,
‘category’: ‘Apparel’,
‘price’: 11.99,
‘quantity’: 1
},{
‘sku’: ‘AA1243544’,
‘name’: ‘Socks’,
‘category’: ‘Apparel’,
‘price’: 9.99,
‘quantity’: 2
}]
Congratulations!
You made it through. Take the time and work this out with your IT or
Developer. Make sure to thoroughly test this before the next part
(connecting Data Layers with GTM - that part is really easy, and doesn’t
require IT or Developers)
Create “Thank You” page GTM TAG
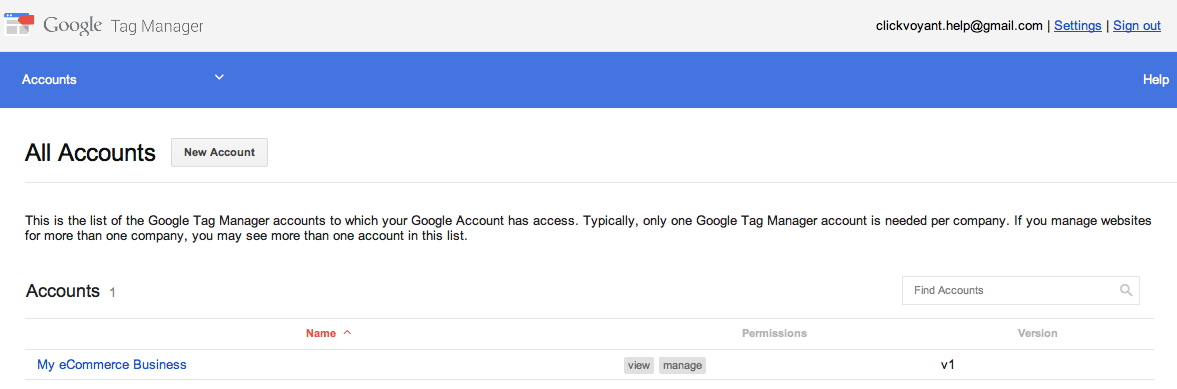
Log
into your Google Tag Manager Account. Click on the appropriate Account,
as with the other examples we are using My eCommerce Business.
Then click on the appropriate Container, for this example we are using the fictitious eComm Widget Store.

Make sure you are in the Container Draft and click on New.
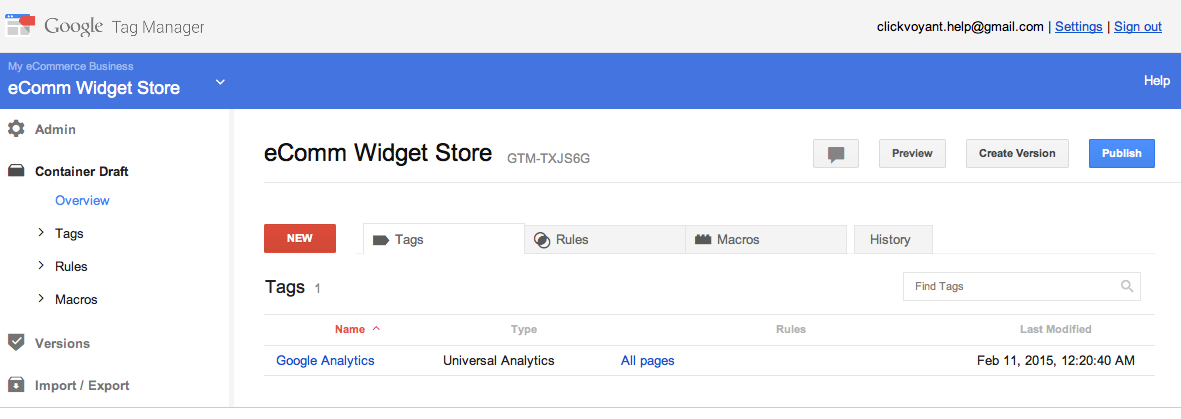
Next you will have to select Tag.

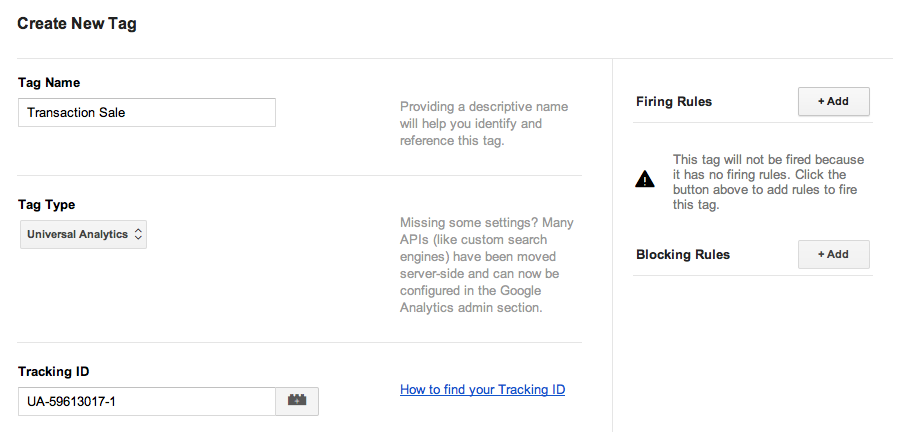
You will now have to give the new tag a name. Call it something like “Transaction Sale.”

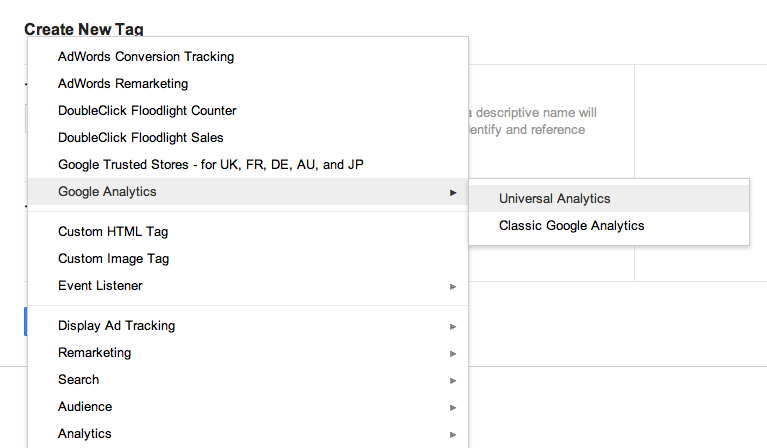
The
next step is to select the type of tag. Since this is for the
confirmation page and it is for eComm Analytics, you will have to start
with Google Analytics then choose Universal Analytics.
“To let the brain work without sufficient material is like racing an engine. It racks itself to pieces.” - Arthur Conan Doyle
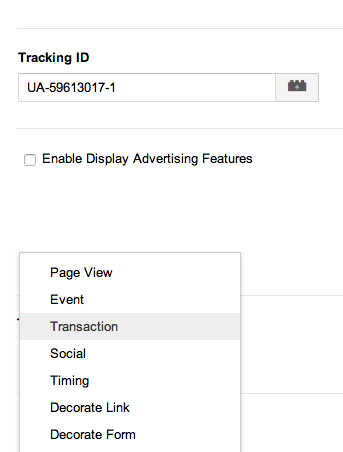
Now
enter your Google Analytics Tracking ID which you received when you
first set-up analytics. This Tracking ID is needed so that you can
connect sales and revenue from your website with the incoming traffic
and on-site visitor performance.

Next select the Tag performance by selecting the “Track Type.” In this case it is for a transaction or order.
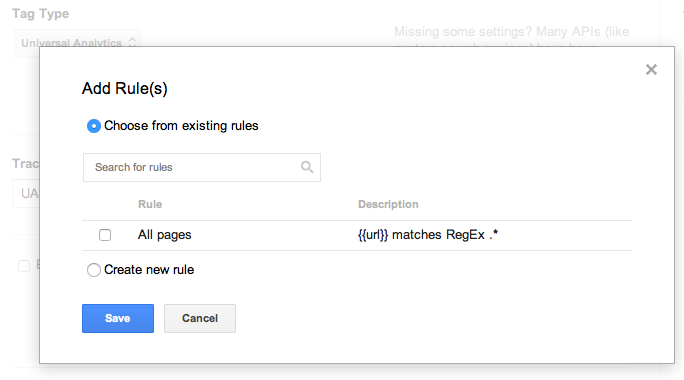
You will now have to configure when the tag fires. Please select “Firing Rules.”
You will have to create a new rule for when the tag needs to fire. Please click on the radio check-mark for “Create new rule.”
Now name the rule something that is descriptive of the firing behavior of the tag.
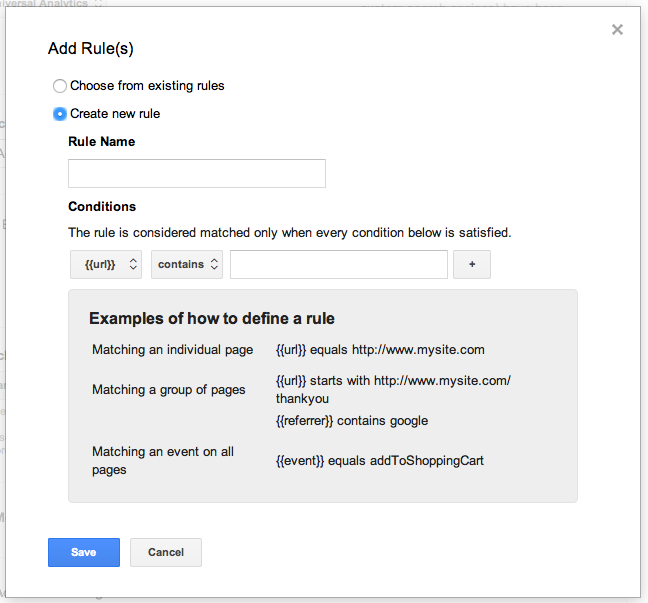
We
will call this rule “Order Confirmation Page.” Secondly, you will have
to write a rule for when the tag needs to fire. Since this is for the
confirmation page, select URL from the drop down and contains. Check
with your IT or Developer to find out what the confirmation page is
called. For this example we will assume the confirmation page contains
the URI thank-you.html (this is only an assumption for explanation
purposes ONLY, you will need to check with your IT or Developer for that
actual page root URI, most times these base URI are followed by query
strings, please use only the root URI for the contains parameter logic).
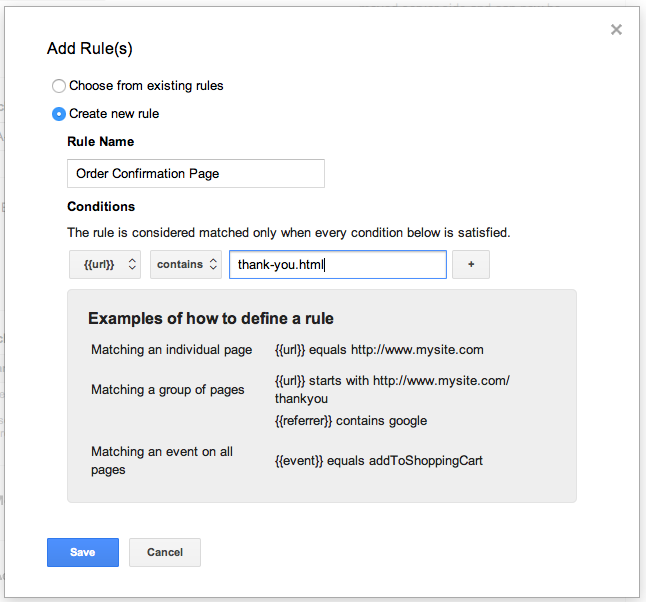
You now have the tag named, the tag type, the tracking ID for the Google Analytics property, the track type and when it should fire. You are almost there. You just need to click “Save” if everything is in order.

Enhanced eCommerce and Confirmation Page Pixels(continued)
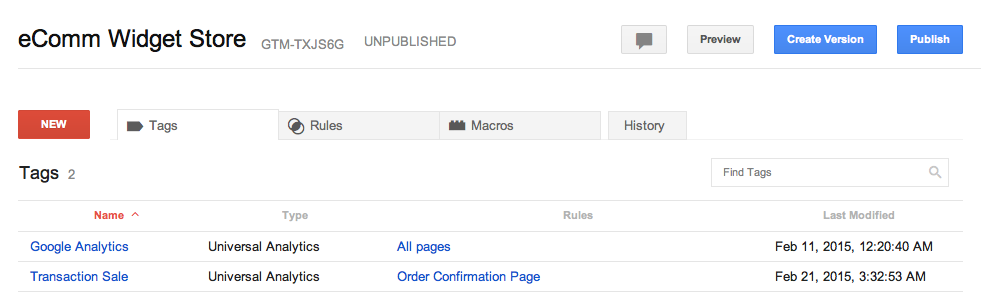
Once you select “Save” you will be able to see all of the tags you have created. At this point there should only be two tags: Google Analytics (for site wide traffic) and the Transaction Sale tag we just created for tracking confirmation page and sales or orders. You are ready to create the instance of the two tags within the container. Please click the “Create Version” button.
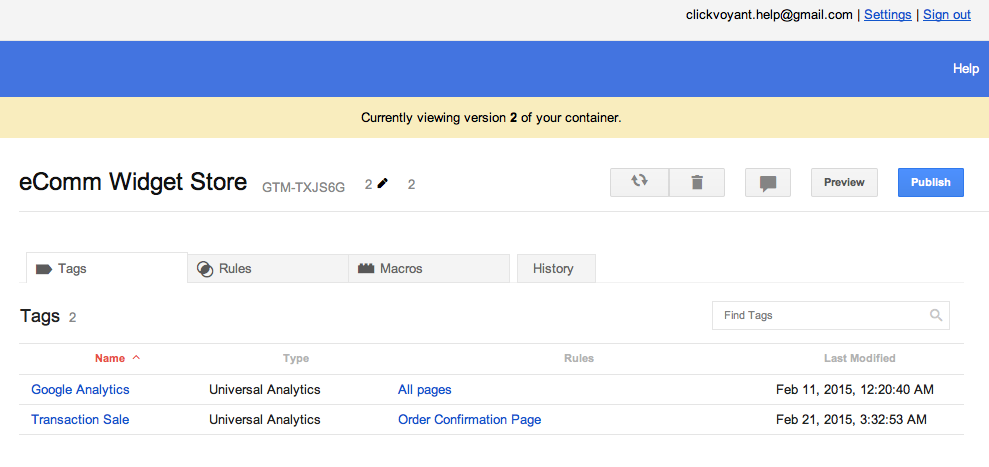
Once you have clicked the “Create Version” button you are ready to Publish the tags. Please click on “Publish.”
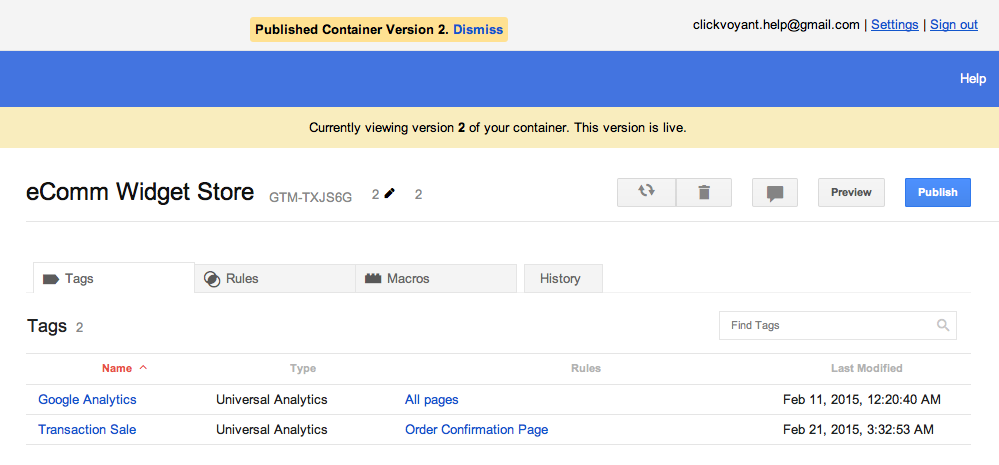
Once you click on “Publish” you will have to confirm. Click “Publish” again.

Congratulations! Your new eCommerce tracking pixel is now live and ready to collect transaction data.
No comments :
Post a Comment